

Cart
0
The Two Minutes Everyone Skips
Here's what almost every magnetic lash video does: it opens with the lashes already trimmed, the liner already dry, and the person's eyes already perfectly positioned for the camera. Then it snaps on the lashes in three seconds and calls it a tutorial. No wonder so many people end up with gaps at the outer corners or lashes that lift by noon.
The actual skill in magnetic lashes isn't the placement — it's the prep. Get that right, and the application almost takes care of itself. Skip it, and you'll be pressing the corners down all day.
This guide covers the full process, in order, including the parts that usually get edited out.
What You'll Need Before You Start
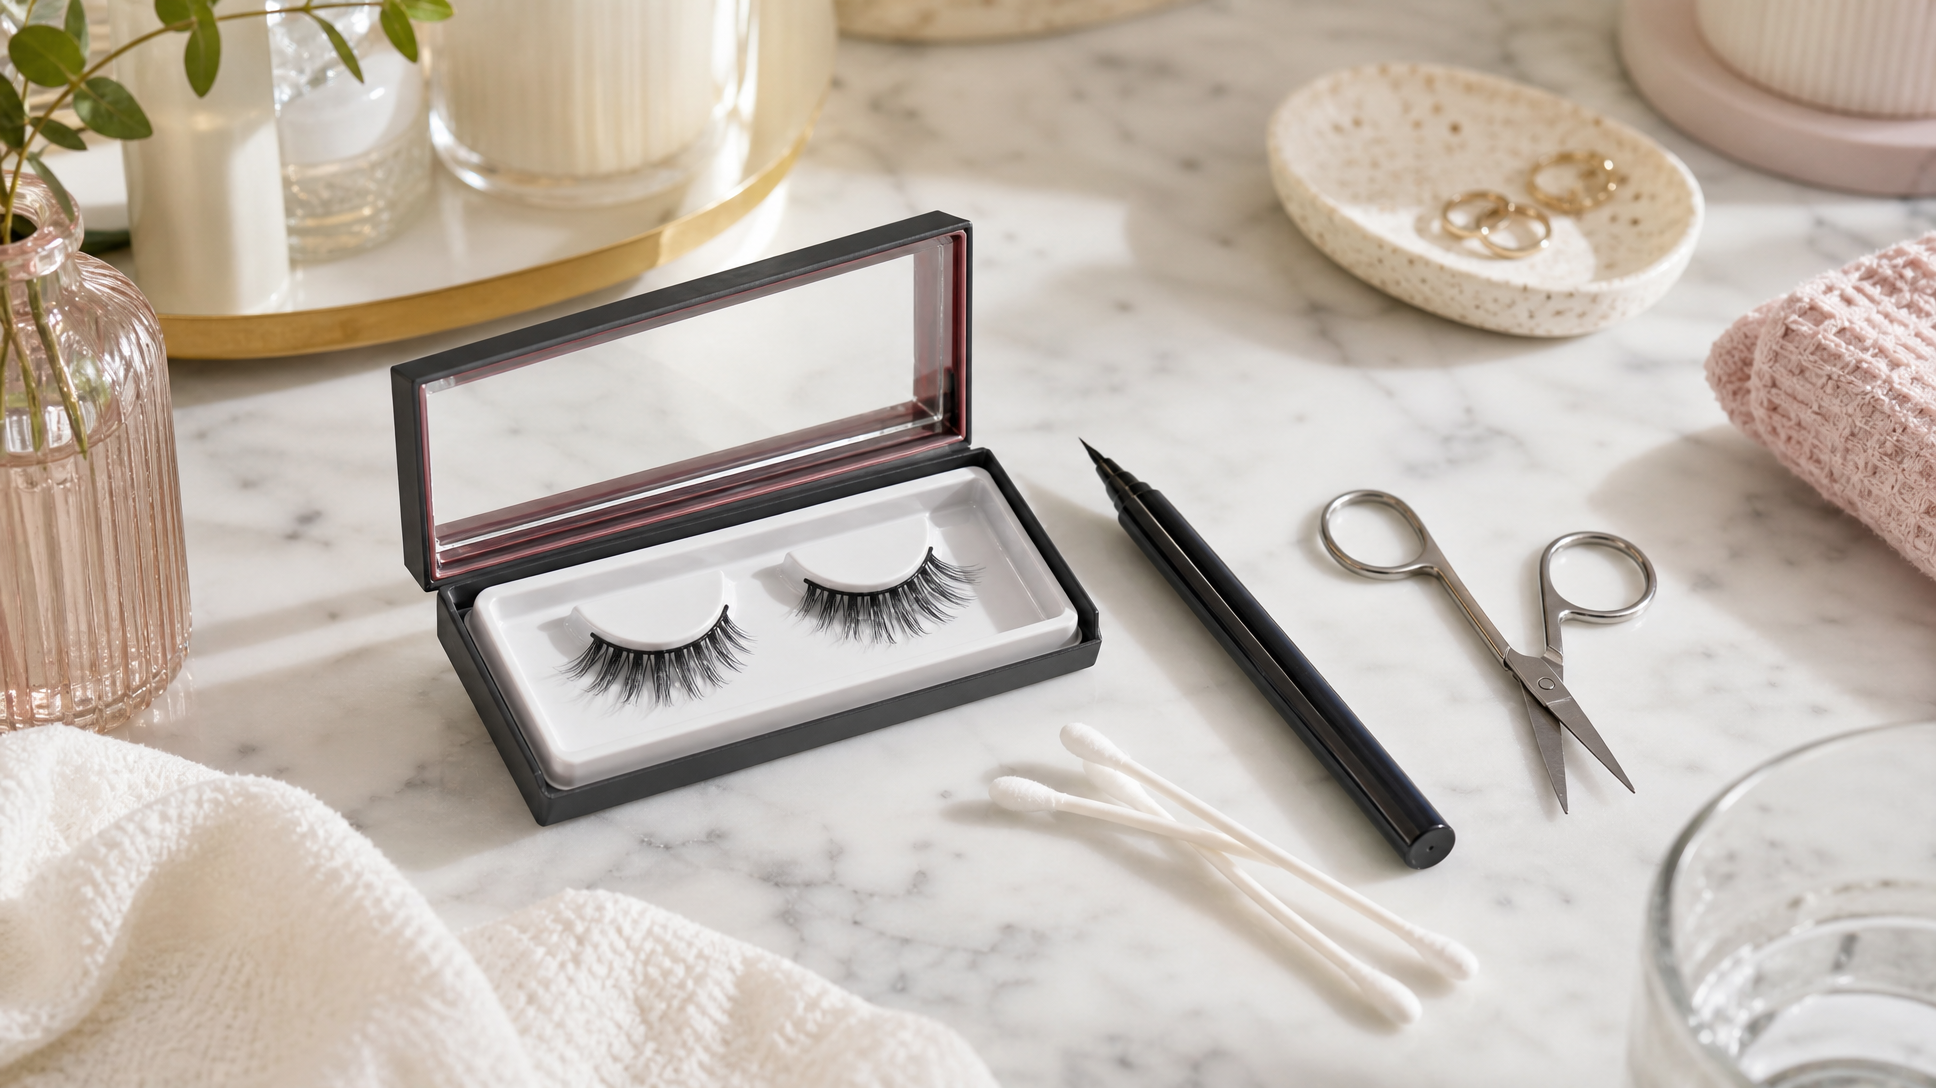
You don't need a lot, but you do need the right things ready before you open the lash box:
- Your magnetic lashes (handled carefully — the magnets are small and easy to dislodge)
- Magnetic eyeliner, or a standard liquid liner if your lashes use adhesive-free magnetic strips
- Small scissors — nail scissors or cuticle scissors work better than regular ones
- A ruler or the lash band itself for measuring
- A mirror you can get close to — a magnifying mirror makes a real difference
- Cotton swabs and micellar water or oil-free makeup remover for cleanup
One thing you don't strictly need: the dedicated applicator tool that comes with some kits. It helps, but it's not essential. More on that below.
Step 1: Measure and Trim (Don't Skip This)
Hold the lash strip up against your eye before you do anything else. The band should start just above where your natural lashes begin at the inner corner — not at the very inner corner of your eye, but a few millimeters in from it. At the outer edge, it should end where your lash line ends, not extend past it.
Most lash strips are made for a wider eye than yours. Trimming is almost always necessary, and always from the outer end, not the inner. Cutting from the inner end throws off the lash density pattern and leaves you with a blunt, obvious edge on the side people actually see.
Trim small — a millimeter at a time. You can always take more off; you can't put it back.
Step 2: Apply Your Magnetic Liner Correctly
If your lashes use magnetic liner (the most common system now), this step is where most of the work happens. Apply the liner as close to your upper lash line as you can — think of it as filling in the root of your lashes, not drawing a line above them. A thin, even coat works better than a thick one.
The critical part: let it dry completely. This usually takes a couple of minutes. Touch it with a fingertip — it should feel tacky but not wet. Applying lashes to wet liner is the single most common reason they slide around or gap at the corners. If you're in a rush, a cool blast from a hair dryer on low speeds things up.
For a stronger hold, especially if you have oily lids, two thin coats dry better than one thick coat. Let the first dry before adding the second.
Step 3: Placement — Where It Actually Gets Interesting
Look down into your mirror, not straight at it. This exposes your lash line fully and gives you a clear view of where the band needs to land. Most people look straight ahead and then wonder why they keep missing the line.
Start at the center of your eye. Hold the lash strip horizontally and let the magnets in the middle connect first. Once the center is anchored, press the inner corner down, then the outer corner. This order matters — starting at the outer corner and working inward almost always causes the inner end to lift.
If a corner gaps, don't pull the whole lash off. Press the corner gently with a fingertip or a clean cotton swab and hold it for a few seconds. The magnets need a moment of pressure to fully seat against the liner.
How to Do It Without an Applicator Tool
The applicator tools that come with some magnetic lash kits are genuinely useful — they give you a steady grip and keep your fingers away from the magnets while you position the band. But they're not magic, and plenty of people apply magnetic lashes cleanly with just their fingers.
The trick is to hold the lash at the very ends of the band, not in the middle. This keeps your fingers from accidentally bending the strip and gives you better control over the angle. Use your non-dominant hand to hold the strip, and your dominant hand's fingertip to press and guide each section into place.
If your fingers keep touching the liner before the lash is positioned, let the liner dry for an extra minute. The stickier it is, the more it grabs your fingers instead of the lash band.
Step 4: Blend and Finish
Once both lashes are on, use a clean mascara wand or spoolie to gently blend your natural lashes with the false ones. This is especially important at the inner corner, where the gap between your real lashes and the false band is most visible.
A thin line of eyeliner — pencil or liquid — pressed along the band conceals any visible edge and makes the whole thing look like it grew there. This step takes thirty seconds and makes a bigger difference than anything else in the finishing stage.
If you want to add mascara, apply it to your natural lashes before putting the magnetic lashes on. Mascara on the magnets themselves can interfere with the hold over time.
Removal and Care
Magnetic lashes come off easily — too easily if you're not careful. Grip the outer corner of the band and slide it off horizontally rather than pulling it straight up. Pulling upward can stress the magnets and bend the band.
Clean the magnets after every wear. A cotton swab dipped in micellar water removes liner residue without soaking the band. Let them dry fully before storing, and keep them in their original tray to hold the shape. Treated this way, a good pair of magnetic lashes can be reused many times.
One thing to avoid: oil-based removers directly on the magnets. They can degrade the magnetic coating over time. Keep the oil-based products for the rest of your face and use micellar water specifically on the lash band.
The Honest Trade-Off
Magnetic lashes have a real learning curve — expect the first two or three applications to take longer than you'd like. That's normal. The mechanics of pressing magnets against a liner-coated lid while looking in a mirror is genuinely awkward until it isn't. Give yourself ten minutes the first few times instead of three, and don't judge the whole format by your first attempt.
Once it clicks, though, it actually is faster than glue lashes. No waiting for glue to get tacky, no sticky residue pulling at your lid, and no searching for the tweezers you put down somewhere.
Ready to stock up on the lash and eye essentials you need? Shop eye makeup and lash essentials at Feelforever21 — everything from liners to full eye looks, all in one place, with free shipping across the USA.
Frequently Asked Questions
Can I use regular eyeliner instead of magnetic eyeliner?
It depends on the type of magnetic lashes you have. Lashes that use two magnetic strips (one above and one below the lash line) don't require any liner at all — the strips sandwich your natural lashes between them. But lashes designed to attach to magnetic liner specifically need that liner for the magnets to grab. Using a standard liquid liner in place of magnetic liner won't give the magnets anything to connect to.
Why do my magnetic lashes keep lifting at the corners?
Corner lifting almost always comes down to one of three things: the liner wasn't fully dry before you applied the lashes, the lash strip is slightly too long for your eye shape, or you started placement at the outer corner instead of the center. Try trimming a small amount from the outer end of the band, letting the liner dry an extra minute or two, and anchoring the center first before pressing the corners down.
How many times can you reuse magnetic lashes?
This varies by brand and how well you care for them, but magnetic lashes are generally designed for multiple wears. Cleaning the magnets gently after each use with micellar water, letting them dry fully, and storing them in their original tray all extend their lifespan significantly. Avoid pulling them off roughly or getting them wet while wearing them.
Is magnetic eyeliner safe for sensitive eyes?
Most magnetic liners are formulated for use near the eye, but ingredient sensitivities vary from person to person. If you have sensitive eyes or wear contact lenses, it's worth checking the ingredient list on the specific liner you're using and doing a small patch test on your arm before applying it to your lash line. If you experience irritation, discontinue use and consult a healthcare professional.


